

Hey there! As a supplier of Siemens HMI, I often get asked about how to set up alarms on Siemens HMI. It's a pretty common need, especially in industrial settings where keeping an eye on processes and getting notified when something goes wrong is crucial. So, in this blog post, I'm gonna walk you through the steps to set up alarms on Siemens HMI.
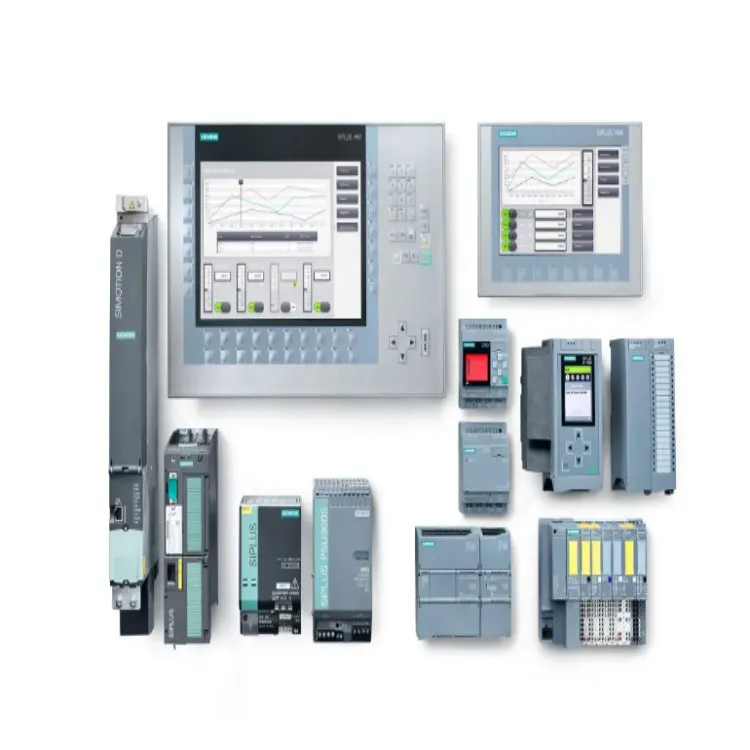
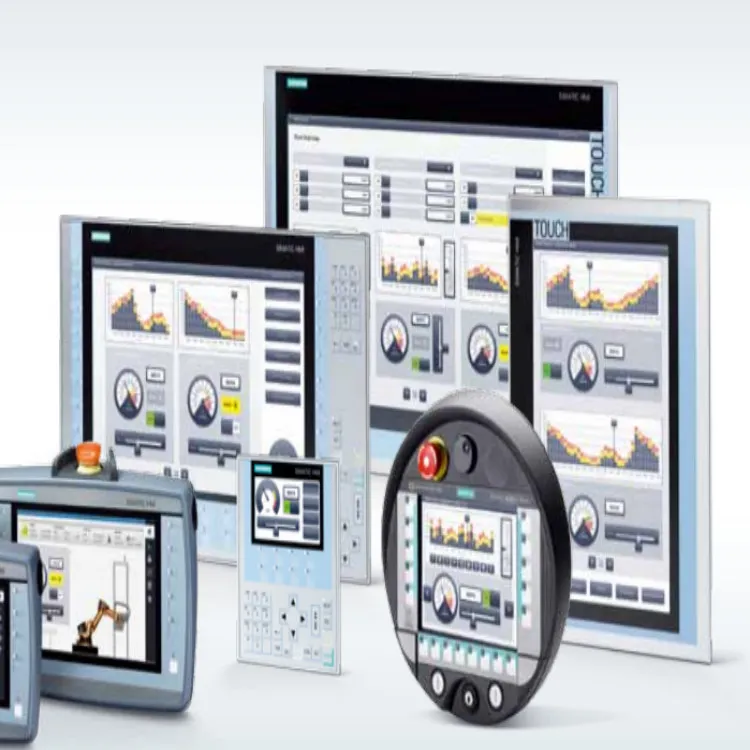
First off, let's talk a bit about what Siemens HMI is. Siemens HMI, or Human - Machine Interface, is a device that allows operators to interact with industrial equipment and systems. There are different types, like the Siemens SIMATIC HMI and the Siemens Basic HMI. These HMIs are used in a wide range of industries, from manufacturing to energy, to control and monitor processes.
Prerequisites
Before you start setting up alarms, there are a few things you need to have in place.
- Siemens HMI Device: Obviously, you need a Siemens HMI device. Make sure it's properly installed and connected to your industrial system.
- Software: You'll need the appropriate software to configure the HMI. Usually, it's the Siemens WinCC software, which comes with a bunch of tools for setting up alarms and other functions.
- Knowledge of Your System: You should have a good understanding of the industrial process you're monitoring. This includes knowing what variables are important and what values would indicate an abnormal situation.
Step 1: Define Alarm Tags
The first step in setting up alarms is to define the alarm tags. Alarm tags are basically variables in your system that you want to monitor for specific conditions.
- Open the WinCC Project: Launch the Siemens WinCC software and open your HMI project.
- Go to the Tag Management: In the software, find the tag management section. This is where you'll create and manage all your tags.
- Create Alarm Tags: Click on the option to create a new tag. Give it a meaningful name that relates to the variable you're monitoring. For example, if you're monitoring the temperature of a machine, you could name the tag "Machine_Temperature".
- Set Tag Properties: Define the data type of the tag (e.g., integer, floating - point). Also, set the address where the tag will read its value from in your industrial system.
Step 2: Configure Alarm Conditions
Once you've defined the alarm tags, the next step is to configure the alarm conditions.
- Open the Alarm Configuration: In the WinCC software, navigate to the alarm configuration section. This is where you'll set up the rules for when an alarm should be triggered.
- Add Alarm Conditions: For each alarm tag, you can add one or more conditions. For example, if your "Machine_Temperature" tag has a normal operating range between 20°C and 50°C, you can set an alarm condition that if the temperature goes above 50°C or below 20°C, an alarm should be triggered.
- Define Alarm Severity: You can assign a severity level to each alarm condition. Severity levels help operators prioritize which alarms need immediate attention. Common severity levels include high, medium, and low.
Step 3: Design the Alarm Display
After configuring the alarm conditions, you need to design how the alarms will be displayed on the HMI screen.
- Create an Alarm View: In the WinCC software, use the screen design tools to create a new screen or modify an existing one to include an alarm view.
- Add Alarm Display Elements: Drag and drop elements like alarm lists, alarm indicators, and alarm messages onto the screen. The alarm list will show all the active alarms, while the indicators can give a visual cue (like a flashing light) when an alarm is triggered.
- Customize the Display: You can customize the appearance of the alarm display elements. For example, you can change the color of the alarm indicators based on the severity level.
Step 4: Configure Alarm Acknowledgment
It's important to have a way for operators to acknowledge alarms once they've been notified.
- Set Acknowledgment Rules: In the alarm configuration section, define the rules for how alarms can be acknowledged. For example, you can set it so that an operator has to click on an acknowledgment button on the HMI screen.
- Log Acknowledgment Information: Make sure the system logs information about when an alarm was acknowledged and by whom. This can be useful for auditing and troubleshooting purposes.
Step 5: Test the Alarms
Once you've completed all the above steps, it's time to test the alarms.
- Simulate Abnormal Conditions: Use the software's simulation tools to change the values of the alarm tags to trigger the alarm conditions.
- Check the Alarm Display: Make sure the alarms are correctly displayed on the HMI screen. Check that the alarm indicators are working and that the alarm list updates in real - time.
- Test Acknowledgment: Try acknowledging the alarms to ensure that the acknowledgment process works as expected.
Tips and Tricks
- Group Alarms: Group related alarms together. For example, you could group all the alarms related to a particular machine or process. This makes it easier for operators to quickly understand the situation.
- Use Alarm History: Enable the alarm history function in the WinCC software. This allows you to review past alarms and analyze trends over time.
- Regularly Review and Update Alarms: As your industrial process changes, make sure to review and update your alarm settings accordingly.
Conclusion
Setting up alarms on Siemens HMI might seem a bit complex at first, but if you follow these steps, you'll be able to get it up and running smoothly. Remember, having a well - configured alarm system can significantly improve the safety and efficiency of your industrial operations.
If you're interested in purchasing Siemens HMI products or need more in - depth support for setting up alarms, feel free to reach out to us. We're here to help you make the most of your industrial automation setup.
References
- Siemens WinCC User Manual
- Industrial Automation Handbook for Siemens HMIs